How it Works
Check Complete Process to Export Exchange Emails into Lotus Notes NSF & Browse Exchange Database into Domino Server
Working with a new product definitely raises a question in mind: how to operate it to make most of it? If this is your query for Exchange EDB to NSF Converter, then you can read the guideline shared below about how to work with the tool.
Before operating the tool, make sure all pre-requisites are fulfilled. Once the tool is installed and opened, follow the steps mentioned below:
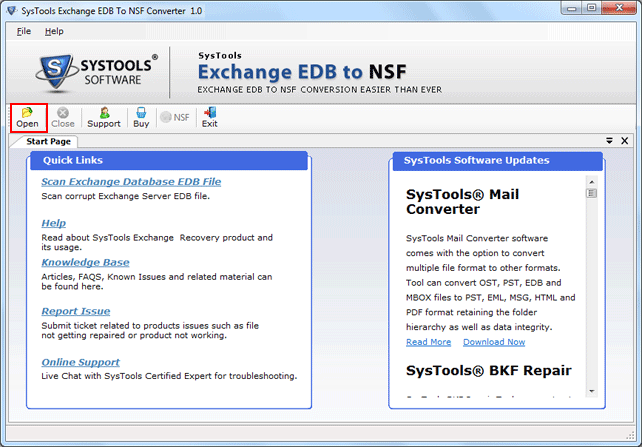
- On the welcome window of the tool, click on "Open" button. This is the first step to add an EDB file for conversion.
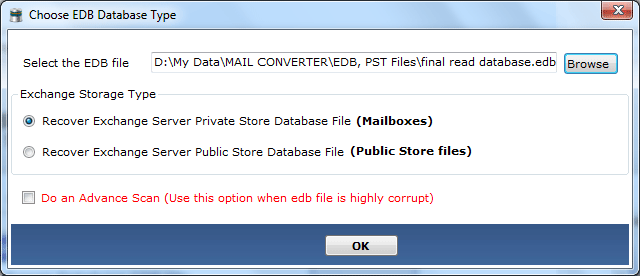
- On the screen that pop up, click on "Browse" button to search and open EDB file for conversion.
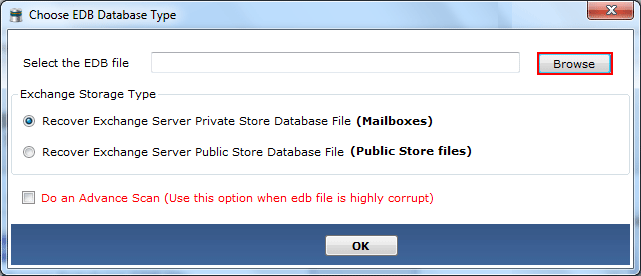
- In the Exchange Storage Type section, define the type of database that has to be recovered ad converted into NSF file: Mailboxes or Public Folders.
Note: If the EDB file is severely corrupted, then choose the "Do Advance Scan" option. Otherwise, the software by default performs Quick Scan operation on EDB file. Click OK
STEP 4:
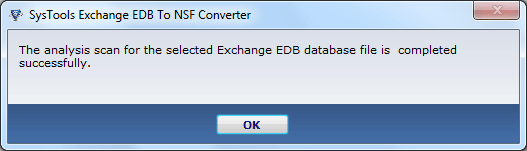
Scan is completed
- The software will start scanning EDB file and will inform about its scan completion through a message on screen.
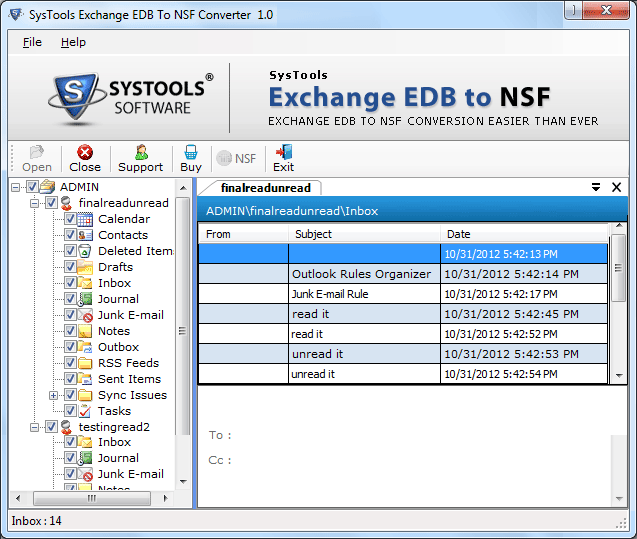
STEP 5: Preview of EDB File
- The tool will allow having a preview over Exchange EDB file contents within its interface. Details of the mailbox items can be viewed in right-panel of the tool.
On this screen, enable check boxes for items, folders, and mailboxes that are to be exported into NSF file.
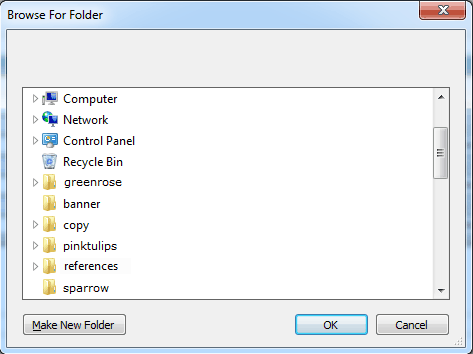
STEP 6: Browse the location
- Define a destination location where the data after conversion in the form of NSF file has to be saved.
STEP 7: Check the location
- Once the conversion process is complete, a message to inform about the same will pop up on screen with details about destination location.
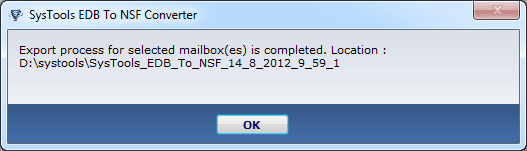
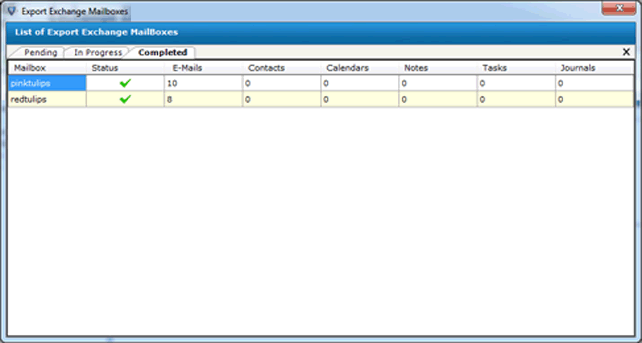
- A list of mailboxes exported into NSF with count for items will be displayed in a dialog box.
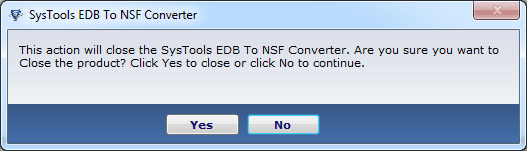
STEP 9: Click Yes to finish
- Close the window to exit software instance. To confirm exit from the tool, click Yes button.